Step-by-Step Guide to Collecting Custom Files from Buyers in WooCommerce
Sometimes the best way to make a product truly personalized is to let the buyer provide extra details. This is especially true if your products require designs, specifications, or other files to complete the order.
Collecting these files directly during checkout not only saves time but keeps everything organized. A proper file upload WooCommerce setup ensures that files are correctly linked to orders and that no details get lost in back-and-forth emails.
I remember working with a small business that offered custom prints on demand. Initially, they were asking customers to email files after ordering. It worked, sort of, but it became a mess when several orders arrived with missing or mislabeled files.
Once we implemented upload fields in WooCommerce, the workflow improved dramatically. Everything came attached to the order, and customers could easily see what was expected. It was simple but made a huge difference.
Step One: Decide What Files You Need
Before adding any upload fields, think carefully about the type of files your customers should submit. Are you looking for images, documents, spreadsheets, or something else? You also need to consider the size and format of the files. Limiting uploads to common formats and setting a reasonable size helps prevent errors and ensures your system can handle the files efficiently.
For example, if you are selling custom T-shirts, you might only need high-resolution images in JPG or PNG format. Setting clear instructions at this stage reduces confusion and increases the chances that the order can be processed without delays.
Step Two: Add File Upload Fields
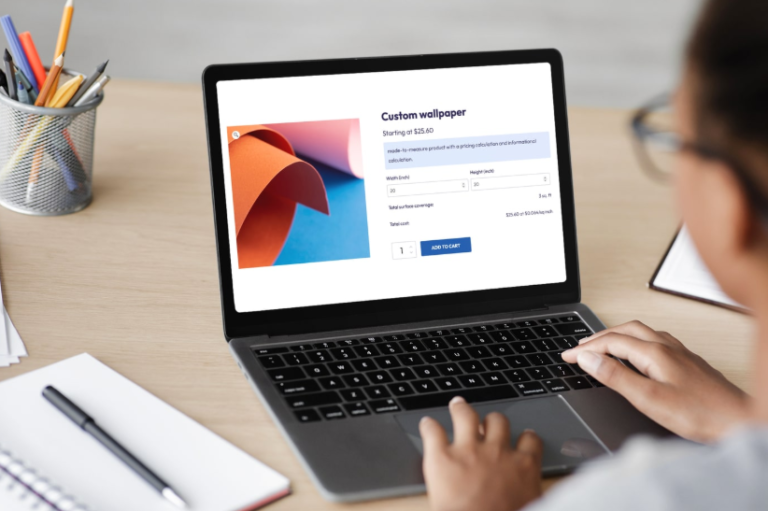
After deciding the file requirements, it is time to add upload fields to your products or checkout page. Most upload file WooCommerce tools let you create fields that accept single or multiple files. You can also set rules like file type restrictions and maximum file size.
Placement of these fields matters. A field placed directly on the product page makes it obvious what files are required. Alternatively, you can place the field during checkout if it applies to multiple products. You may even want to use conditional logic.
For instance, if a customer selects a specific option on a product, the upload field appears dynamically. This keeps the checkout clean for customers who do not need to upload anything.
Step Three: Test the Upload Process
It is always a good idea to test how the upload process works from the buyer’s perspective. Try submitting files of different types and sizes to ensure nothing breaks. Make sure the uploaded files appear correctly attached to orders and that notifications, if any, are sent.
Testing might feel tedious, but it helps catch issues before customers encounter them. It also gives you a chance to tweak instructions, adjust field placement, or refine size limits. Even small changes at this stage can significantly improve user experience.
Step Four: Manage Uploaded Files
Once customers begin uploading files, managing them efficiently is key. Every uploaded file should be tied directly to an order. This makes it easy to review what was submitted and to start production or delivery. Organizing files in a clear folder structure or within the WooCommerce order dashboard prevents mistakes.
For example, if you receive multiple files from the same customer, labeling them consistently and storing them in the order’s folder ensures nothing gets lost. This step may seem minor, but it can save a lot of headaches later.
See also: How Technology Is Enabling Smart Agriculture Practices
Step Five: Communicate Clearly With Customers
Clarity is crucial when collecting custom files. Make sure your customers know exactly what is required, acceptable formats, and any deadlines for submissions. Consider adding small instructions near the upload field. A placeholder text like “Upload your design file here” or “Include special instructions if needed” works well.
Clear communication reduces errors and increases customer satisfaction. If a customer knows exactly what to do, they are more likely to submit files correctly the first time. This also reduces follow-up questions or emails asking for missing files.
Conclusion
Collecting custom files in WooCommerce doesn’t have to be complicated. By setting clear requirements, adding user-friendly upload fields, testing the process, managing files properl,y and communicating with customers, you can streamline the process for both your team and buyers.
A file upload WooCommerce setup improves order accuracy, reduces back-and-forth, and creates a professional experience for anyone ordering custom products. Taking the time to do it right ensures smoother workflows and happier customers overall.